Digital Electronics Hall of Fame
Yasmin Williams: “The Drum Glove”
“The Drum Glove” is a unique MIDI controller, which allows the user to play drum samples using their hands by wearing the special, motion-sensor glove. In Yasmin’s example, she is able to play the guitar with her left hand, and play drum samples with her right hand. In this way, the project adds a level of versatility to multi-instrumental recording and performance experiences. Using sensors on the glove, each of which correspond with an LED, different hand movements trigger different MIDI messages which are sent from the glove into the DAW, resulting in the sounding of various samples. Arduino code allows these MIDI messages to be sent, and establishes the overall connection between the DAW and the glove. Overall, I thought this was an amazing project and a really cool approach to designing a new MIDI controller.
Here is a sketch of the glove:

Margaret Sohn: Frequency-Based Light Show
Margaret’s project is an amazing visualizer that is triggered by different frequencies from a singer, which results in super interesting, reactive visuals. My favorite part of this project is just how reactive and well-timed the lights are with the vocals, given that the lights completely rely on the vocals. It creates a fantastic connection between the visual and auditory experiences in watching a performance. When the vocalist sings into a microphone, which is connected to a Teensy, the frequencies of the audio signal are interpreted by the electronics, and trigger different lighting effects of various colors. The Arduino coding provides the Teensy with the information needed to recognize these frequencies, and light up the corresponding lights. The result is an amazing light show.
Here is a sketch of the project:

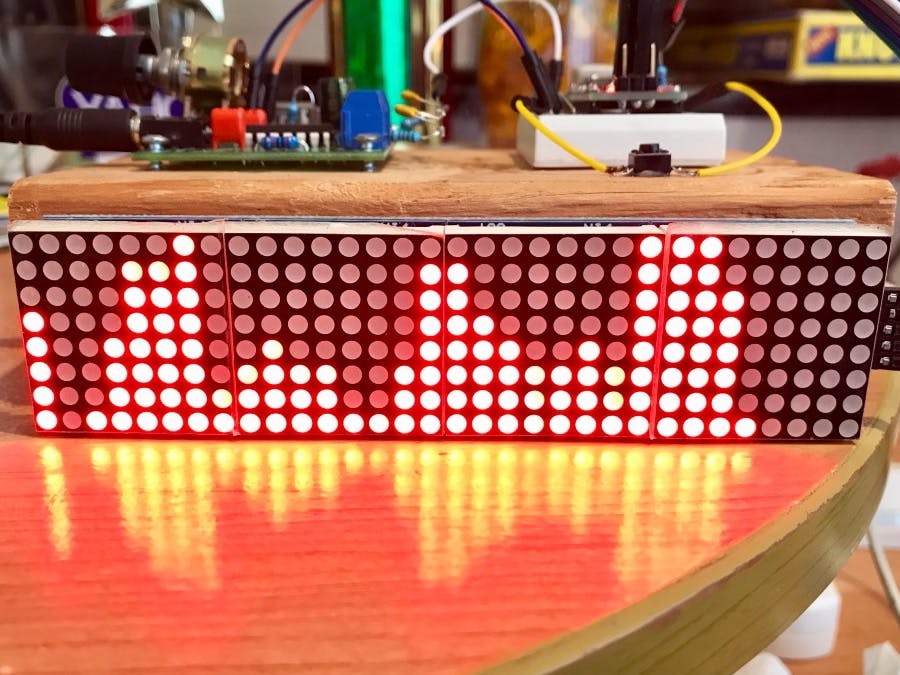
Shane Patterson: “Drum Sequencer”
Shane’s project is a really cool, 16-track 8-32 step drum sequencer. I think the aesthetic aspect of this sequencer is amazing; I love the use of the different colored LED’s on each of the buttons. This drum sequencer is also made with some useful features, including potentiometers that alter the velocity of the notes, a directional pad that allows the user to access all 32 of the steps and alternate between the 16 tracks, buttons that increase and decrease the tempo, and buttons that increase and decrease the project length. Programming in Arduino allows each of the buttons to trigger different MIDI messages, and ultimately create sound in this sequencer. Overall, this drum sequencer is both very functional and aesthetically-interesting.
Here is the drum sequencer in action:
Arduino
Audio/Music Project: “32-Band Audio Spectrum Visualizer Analyzer“
link to project:
https://create.arduino.cc/projecthub/Shajeeb/32-band-audio-spectrum-visualizer-analyzer-902f51
After doing some research on Arduino, I found that it has many uses in both the audio world and other realms of electronics. In my research on music and audio, I found an audio-based project called “32-Band Audio Spectrum Visualizer Analyzer.” Essentially, the electronics inside of the analyzer are able to recognize the various frequencies of any signal that is inputted into it. In response to the varying frequencies of the audio signal that are interpreted by the electronics, the signal is visualized by LED’s on the outside of the circuit, which reactively light up. Looking at the LED’s, the user can get a cool and useful visual of the frequency spectrum on a particular audio signal. On the website, the creator of the project provides information on the materials needed, the features, the code they used, the schematic, and any additional instructions needed to create and understand the visualizer.
Here is the schematic:

Here is an image of the visualizer:
Here is a video of the visualizer in action:
Non-Audio/Music Project: “Giant Animatronics Lego Minfig Operation”
For this part of the assignment, I wanted to find a really weird, niche project, and I think I succeeded! For Halloween, Matthew Harrell created a giant Lego version of the game Operation, where trick-or-treaters would use a large pair of tweezers to take out candy from a Lego Frankenstein. The thing that stands out the most about project is the enclosures for these circuits, as they are gigantic versions of Lego people: one Frankenstein, and one a mad scientist. On the post, Matthew provides the very in-depth process of creating these giant enclosures from scratch and putting them together. In terms of electronics, like the game operation, Frankenstein and the mad scientist respond when the tweezers hit the boundaries of the different open spaces on Frankenstein. The electronics interpret these hits, and trigger mp3 files to make it sound as if both of the figures are speaking, and also some information that causes them to shake their heads, and move their arms and legs in a pretty scary way. Each opening on Frankenstein causes different audio files and movements to be triggered, which creates some variety in reactions. Regarding Halloween, Matthew notes at the end of his blog post, “Everything works fantastically and held up to a full night of abuse,” and man, I hope he’s kidding!
Here is a video of the electronics testing:
Here is an image of everything mounted:

Here are some images of the finished product (for size reference, look at the pumpkin in the bottom left corner):


Here is a video of Matthew playing the game (watch out, the animatronic movement is pretty scary):
Digital/Analog Inputs
In digital electronics terms a switch or button is a digital input, an LED is a digital output, and a potentiometer is an analog input.
Computer Programming Experience
I have no computer programming experience, so this is all new to me! 🙂
